 |
| A Google Maps Street View of the space, "before". |
on a nearby vacant lot. A few months earlier, they already added fifteen wooden raised beds; I will describe the further expansion that I was involved with.
The large, 7,000 square foot lot was surrounded by raised beds, but filled with weeds. Our goal was to turn the bulk of the area into growing space.
 |
| Here are is the lot when I first saw it. |
After making several phone inquiries, I chose to order soil from the Long Island Compost Company. They delivered a "full truckload", which was 60 cubic yards, of a 50/50 topsoil compost mix.


Once we had the soil, our first task was to figure out what to do about weed control, and more importantly, soil toxins.
My employers already tested the base soil. A many decades standing vacant lot has seen a lot of debris, so not only did the soil have very poor nutrients, it wasn't safe to grow food in the soil due to toxins.
Our strategy was to block off the weeds with cardboard, and add landscaping fabric on top. This doesn't create a perfect seal, but it is considered a standard procedure for growing on top of urban vacant lots. Very few roots will penetrate into the base soil. The vast majority of the plants' water and nutrients will come from the new soil, so the resulting food should be very safe...especially compared to conventionally grown crops that use toxic pesticides. This isn't a perfect science, so all urban gardeners need to keep up-to-date on the latest findings and protocols.

 |
| Cardboard added for blocking weeds |
 |
| Landscaping fabric added like a carpet |
We blanketed the area with landscaping fabric, covering both the paths and the growing area. The goal isn't to just seal off the planting area, but to prevent any of the base soil from blowing or spilling into the growing area. The standing/meeting areas will be covered with mulch to do the same.

To the left, we are starting to add rows of soil. We kept 18" paths between the 24" rows, so adults and school groups can easily walk through the rows. Going forward, I would suggest creating wider growing rows. 30" rows with 18" paths is a good standard to follow.


We added wood chips and coffee bean sacks in between each row. These paths made the farm look pretty cool, but after several rain storms, the lines got visually blurred. My main goal wasn't to keep a nice clean space free of mud, but to create a clear, delineated set of paths, so that visitors will understand where they can and can't walk. Often adults and kids alike will not quite get the concept of path vs. row, and we will find foot prints in the growing areas, which is a huge no-no.
Finally, the crops started to appear. Planting started less than a week after our soil delivery, in early August. Since planting is the easiest task, and the growing season was limited, we began planting every day after each new sets of rows were created. Some of our crops were transplants, but most were direct sown.
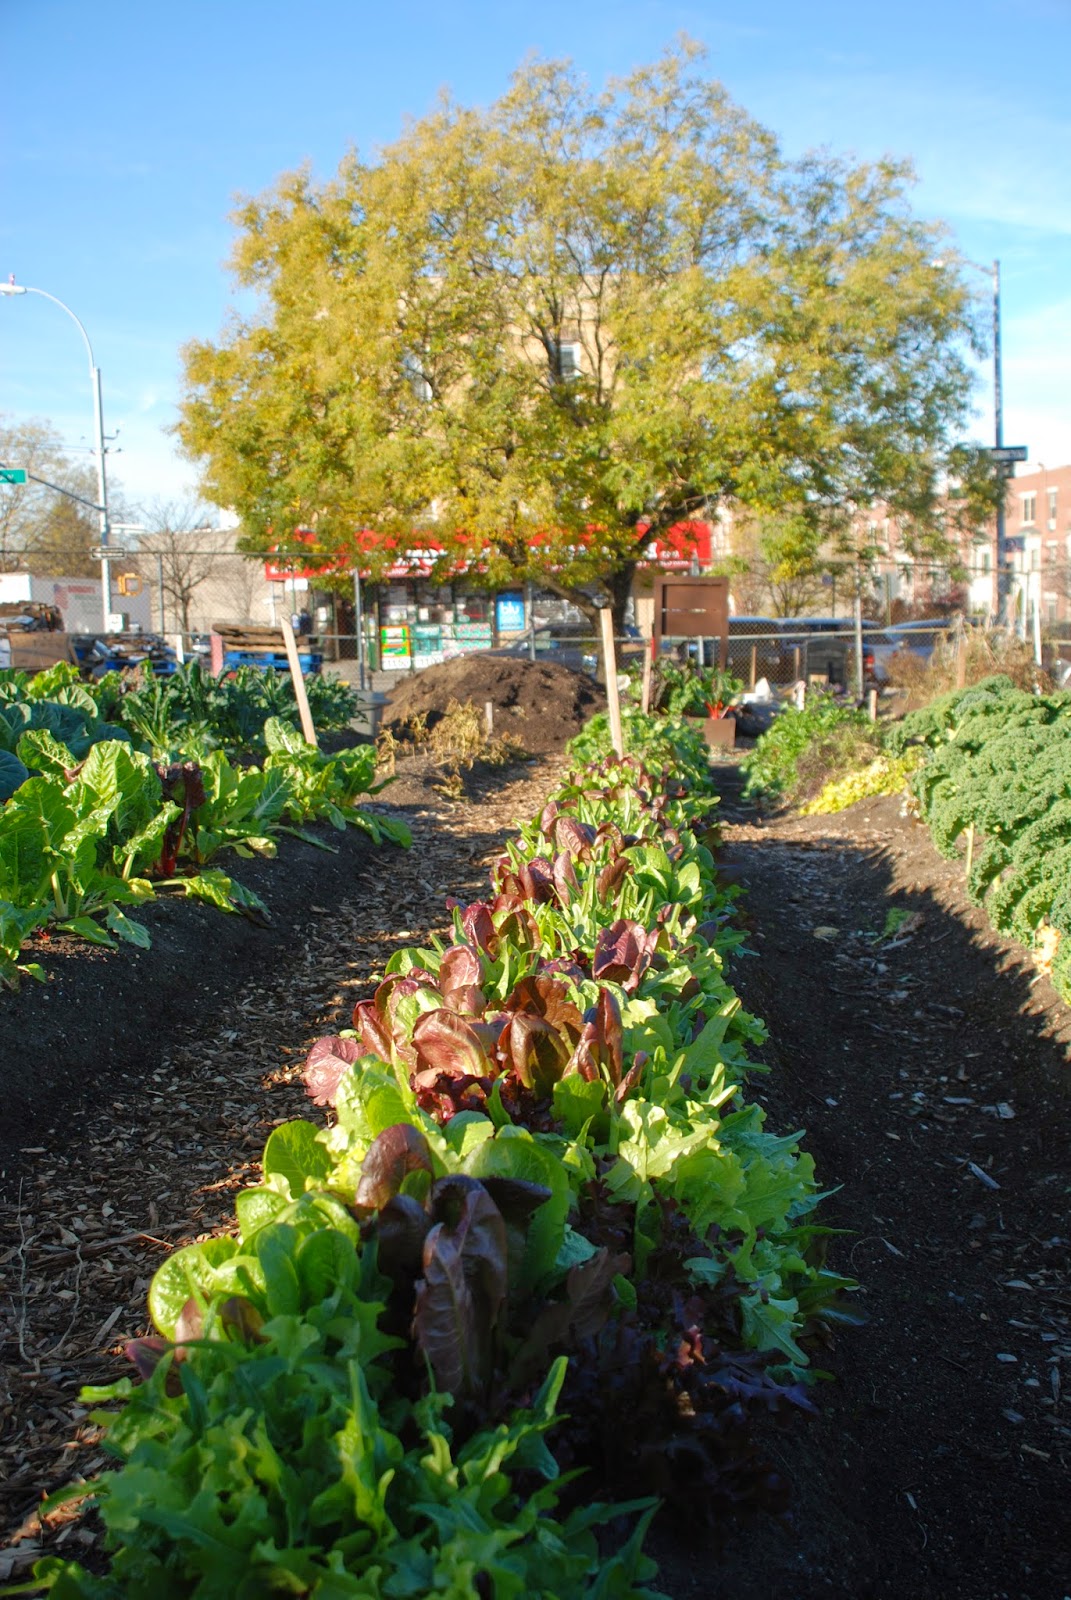
Luckily the raised beds had some longer season crops such as tomatoes, peppers, eggplant and okra. The only new things we added were root vegetables and leafy greens, plus a small amount of peas and bush beans. The bulk of our new crops were kale, collards, chard, beets, turnips, rutabaga, pak choy, Chinese Cabbage, lettuce and arugula. Nearly all were a huge success, so it's nice to know that one can still get a good harvest starting that late in the season. Now, we look forward to the first full growing season!


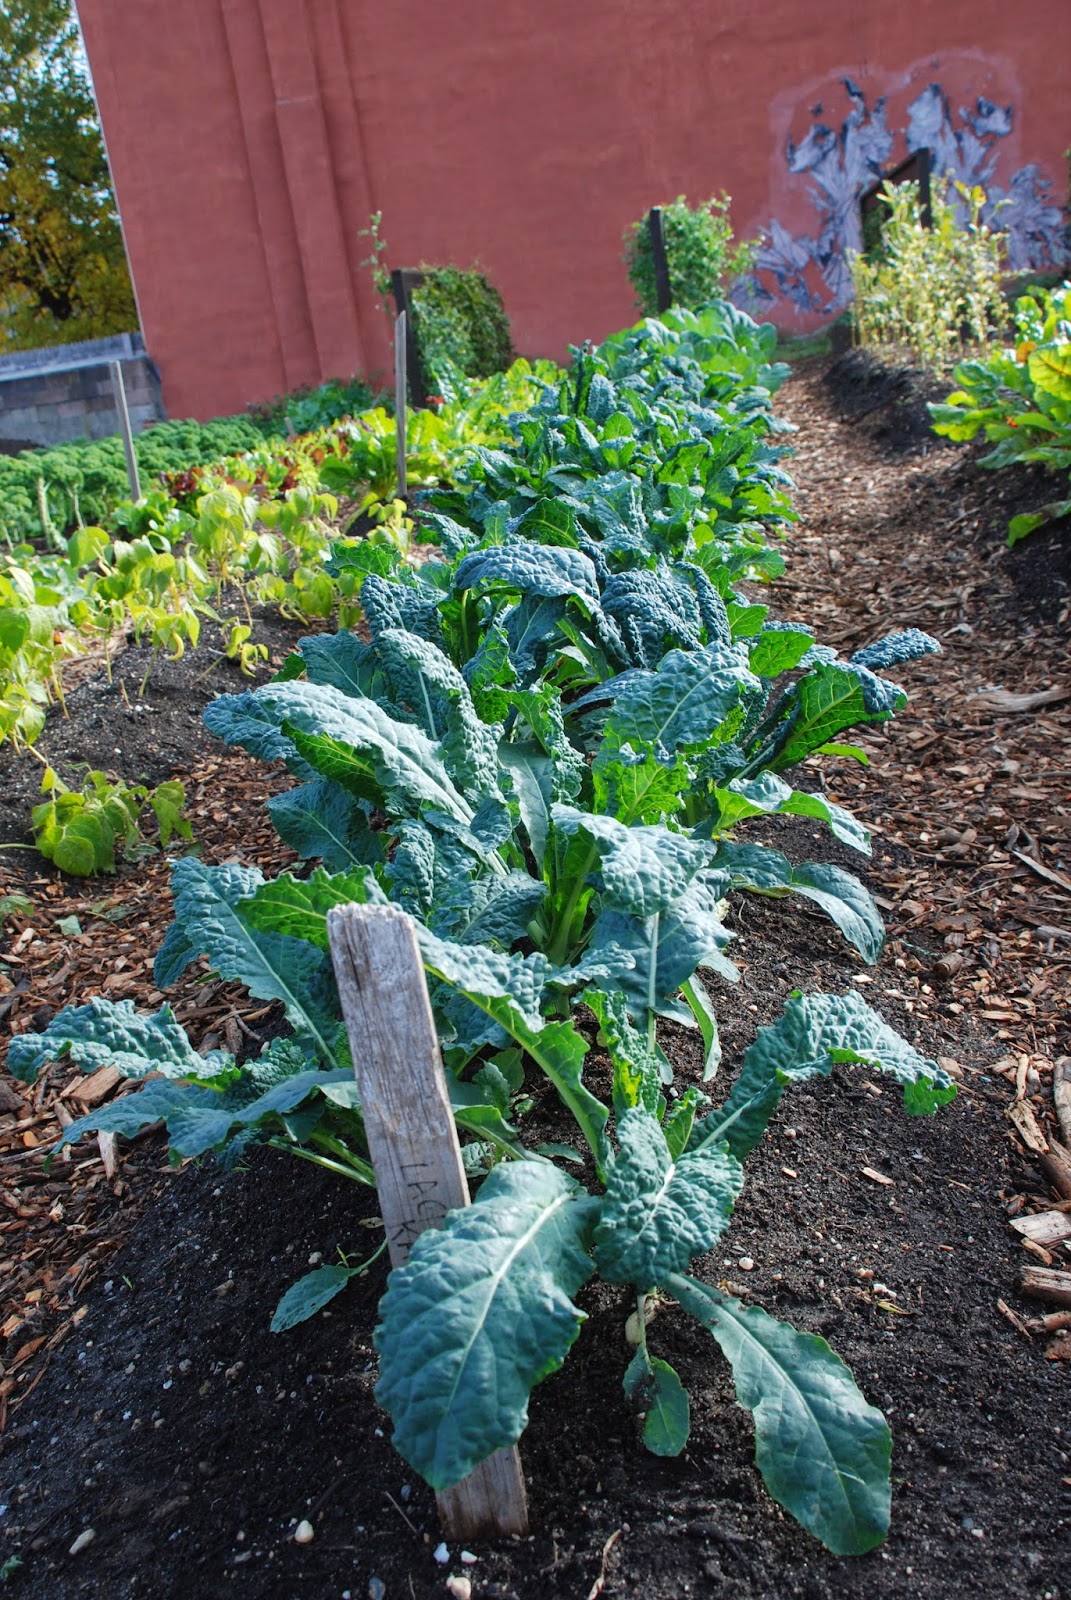 |
| Lacinato Kale |
 |
| Lots of chard! |
 |
| Arugula |

 |
| Finally the season came to an end around the New Year |

No comments:
Post a Comment